Layer List
To add a new layer click on the yellow floating action button on the bottom right of the screen.

A new blank layer card will appear in the layer section on the left-hand side of the map.

There are three buttons on the bottom of the card: The first is fetch which fetches the data for the layer. The second is delete which deletes the layer and on the right-hand side is a visibility toggle button which shows and hides the layer on the map.
Reordering layers on the map is also possible, just drag and drop cards in the layer list to order them according to your needs. The layers are rendered on the map in order so the first layer in the list is rendered on the map then subsequent layers are rendered on top.
To begin setting up the layer press the expand icon on the top right of the card.
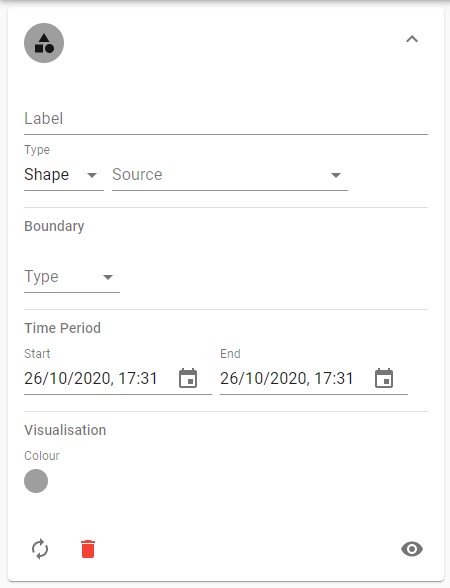
You can use the label field to name the layer to differentiate between layers.
The type field allows you to set the layer type, they are described in the next section.
The source field allows you to set the data source. The choices available are determined by the layer type.
The boundary field allows you to set a boundary to filter items geographically. It will restrict events to those that intersect the boundary. You can choose either a custom boundary or a pre-existing one.
Choosing a custom boundary will make a pencil icon appear. Clicking on the pencil icon allows you to begin drawing on the map. Click once on the map to add a point to the boundary and double click to finish. When a boundary has been set the pencil icon will turn blue to indicate that a boundary exists.
Choosing a location for the boundary will present a set of drop downs allowing you to choose the location.
Time period allows you to set a time period for events you wish to retrieve. This will bring back all events that overlap the time period so events may start before and/or end after the time period.