Map
Overview
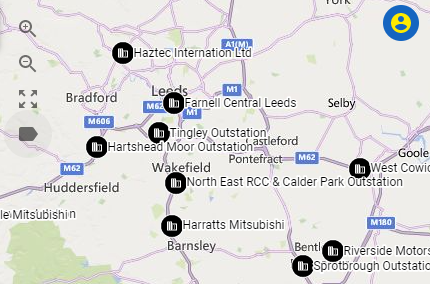
All the features with a location are shown on the map view.

Map controls
In the top left are several icons used to control the map:
![]()
From top to bottom the icons are zoom in, zoom out, fit, and label.
Fit button
The fit button:
![]()
... zooms and pans the map to show all the items in the list view to the left; be it a single item, a list of a certain type or a filtered list of a certain type.
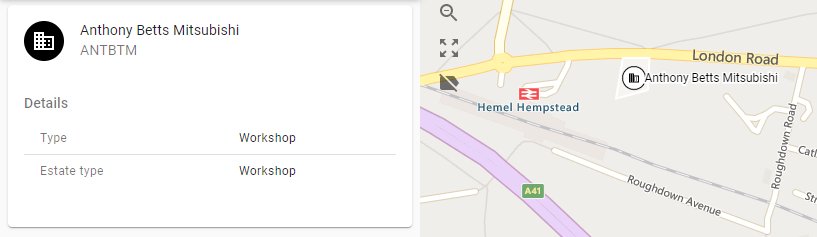
If a single item is selected (the detail view is displayed for a single feature) and fit is clicked, the map will zoom to and centre on that single item:
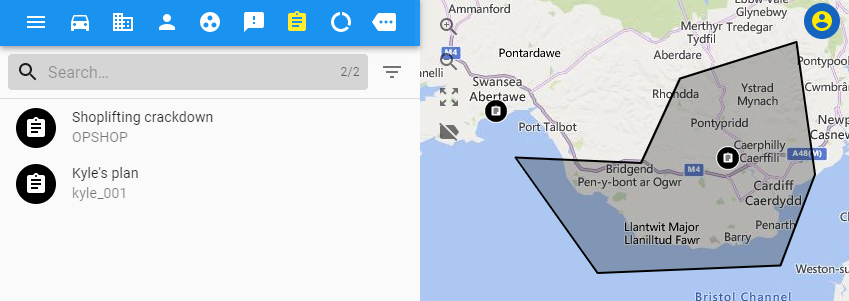
If a single item is not selected and fit is clicked, the map will zoom to include all the items of the currently selected type (that are not filtered-out). For example, if Plans are currently selected and fit is clicked, the map zooms into all plans that are on the map (in this example there are only two):
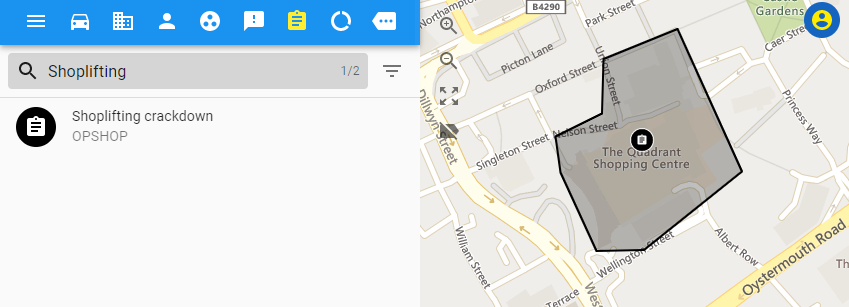
If one of these is filtered-out, then fit will zoom into the filtered in items (which in the case below is just the Shoplifting Crackdown plan):
Label
The label button:
![]()
... toggles whether resource labels are shown or not:
At a far out zoom turning labels on can clutter the map.
Map layers
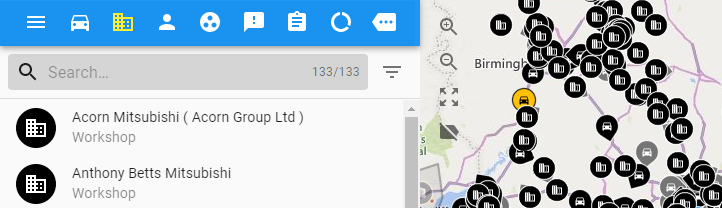
The layer for the currently selected type is always shown as the topmost layer; here locations are currently selected and appear above vehicles:
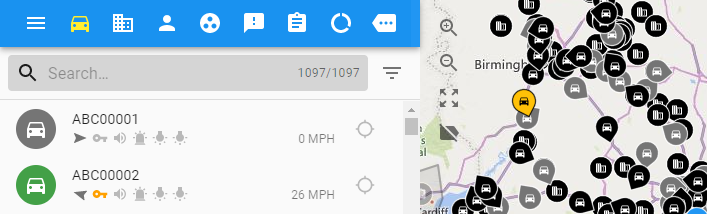
And here vehicles are currently selected, so they appear above locations:
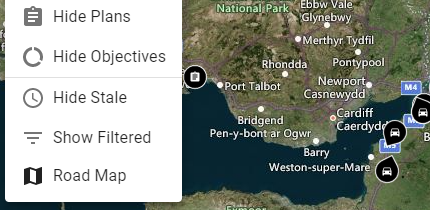
At the bottom left of the map, the layers icon:
![]()
... brings up a menu that allows individual layers to be shown or hidden:
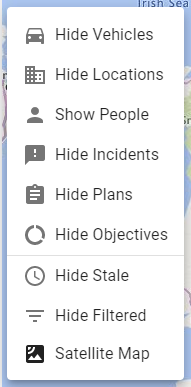
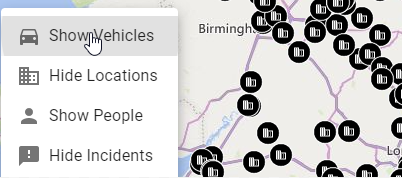
Clicking on Hide vehicles:
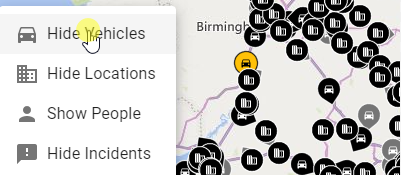
... will hide the vehicle layer (and similarly for the other feature types):
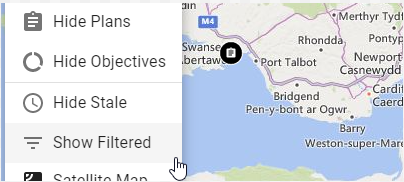
Filtered-out features by default appear in a transparent layer beneath all the other feature layers. If required, the filtered-out features can be hidden entirely; clicking Hide Filtered:
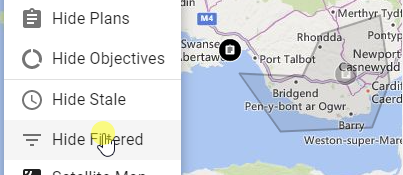
... results in the filtered-out plan being removed from the map:
Likewise, stale features (which are features that haven't had a recent poll) can be removed from the map using the Hide Stale menu item. Hiding stale features from the map will also hide stale features in the feature list.
If available, clicking the Satellite Map menu item on the bottom of the layer menu will toggle the map between a road and an aerial view:
Order of items within a layer
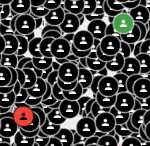
Within a layer for a feature type, individual features may appear above others depending on their status. In this (slightly exaggerated) example, features for two people appear above all the other people features. This is because one of the features has an emergency status (in red) and the other has an assigned status (in green). The other features all have a default status.
Map legend
At the bottom right of the map the legend icon:
![]()
... brings up the legend for the items on the map, for example:
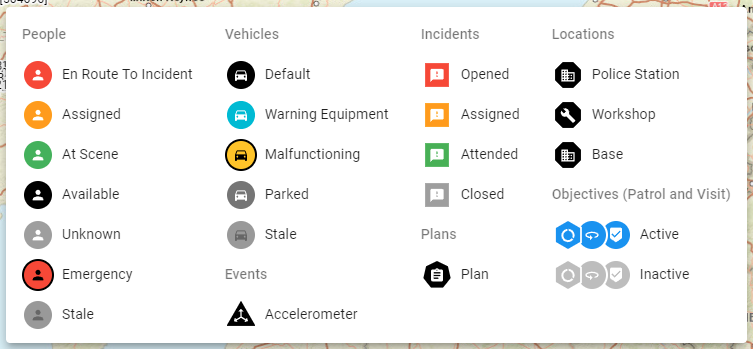
Note: Most of the colours and shapes seen above are configurable for a particular installation of iR3 so the legend you see may differ to this example.